This tutorial explains how to change the font and colors on a using the Design Wizard. While the screen shots are made using our Business Card Designer Plus software the same steps apply to our Print Designer GOLD program. This tutorial also applies to all other types of templates, such as labels, envelopes, CD's, etc.
To get to the starting point of this tutorial start the Design Wizard by choosing File->New on the menu, select a design type, click Next and select a template then click Next again.
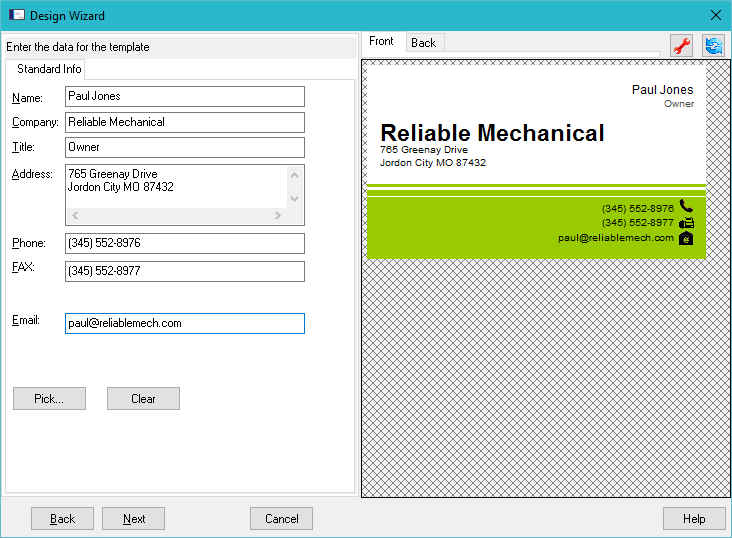
Once you have a template selected, changing the font and colors used in the template is easy. When you are at the screen below enter your personal information and click Next.
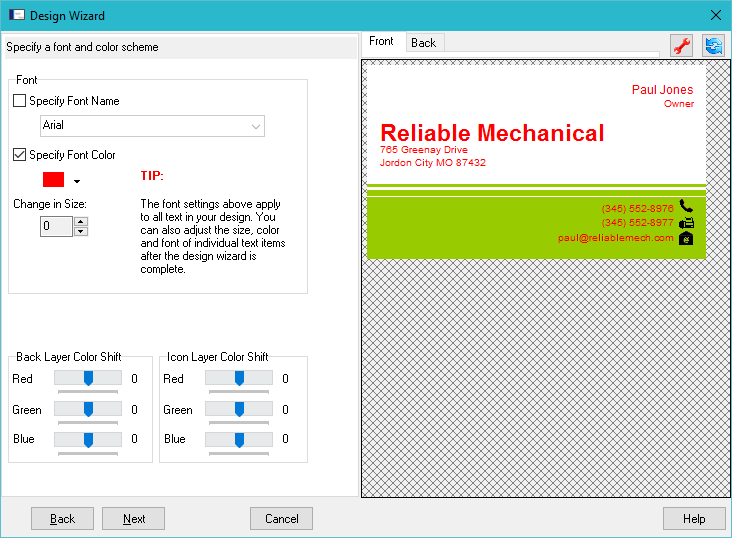
The Font group allows you can change the font used throughout the template. In the shot below the font color was changed to red. The affects all text objects in the template. You can also change the size and font name. If you want to change individual text objects you can do that after the design is created using the main editor screen. There you can change all aspects of each object individually.
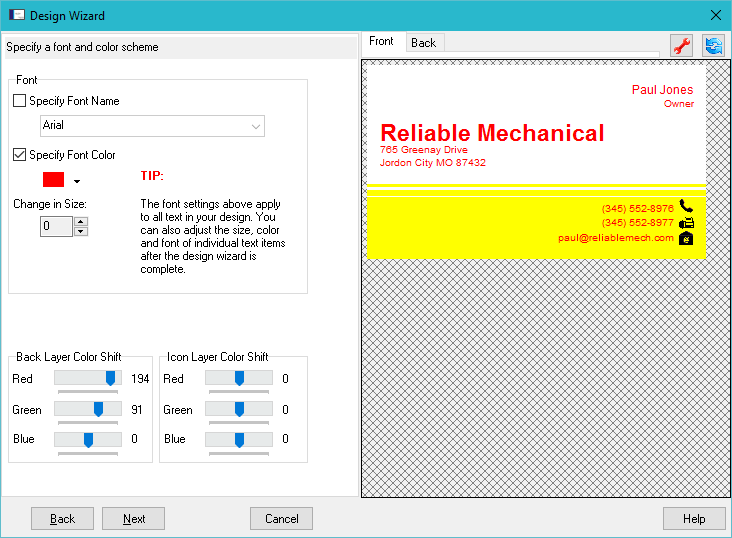
The Back Layer Color Shift and Icon Layer Color Shift groups allow you to adjust the colors of background layer and icon layer objects by increasing/decreasing the red/gree/blue intensities. Background layer objects are objects in the design that collectively make up the background (the yellow areas below). Icon layer objects are generally small icons used to visually represent individual fields in the design, such as a phone number, email address, etc (in black below).
Once you are happy with the selected font and colors click Next to create the business card. You can then personalize it further if you want to or print it as-is.