This tutorial explains how to create a new blank design, link it to a database and add fields from the database to the design. While the screen shots are made using our Print Designer GOLD program the same steps apply to our Label Designer Plus DELUXE software. This tutorial also applies to any supported database, including Excel XLS, XLSX, Access and the built-in address book database with any number of records.
To get to the starting point of this tutorial select File->New on the menu to start the Design Wizard. If you just started the software you can just click Next on the Startup Options screen displayed when the program starts.
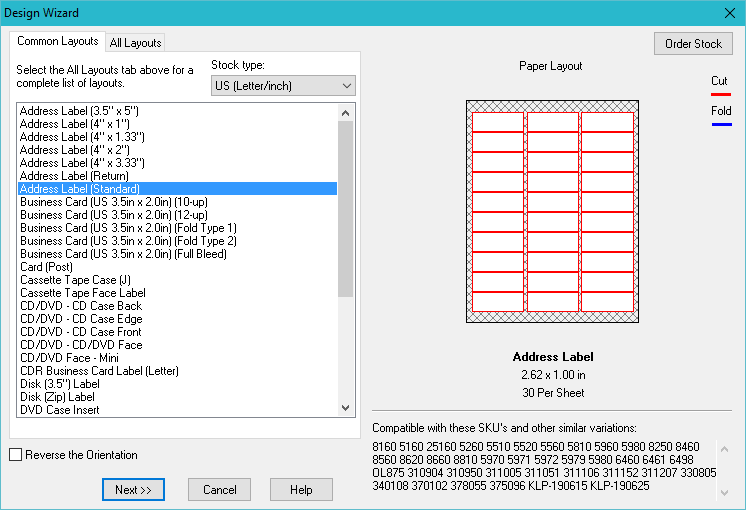
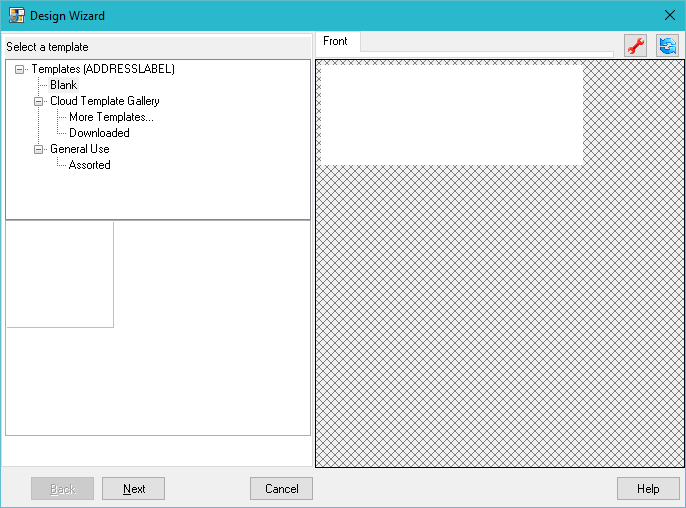
The first step is to create a new label to link and add your fields to. To keep things simple we are creating a blank address label, but you can apply this to any type of label using any template that we offer or even a label that you already designed previously. Select the type of label your want to create (an address label is selected below) and click Next then select the Blank template and click Next again.
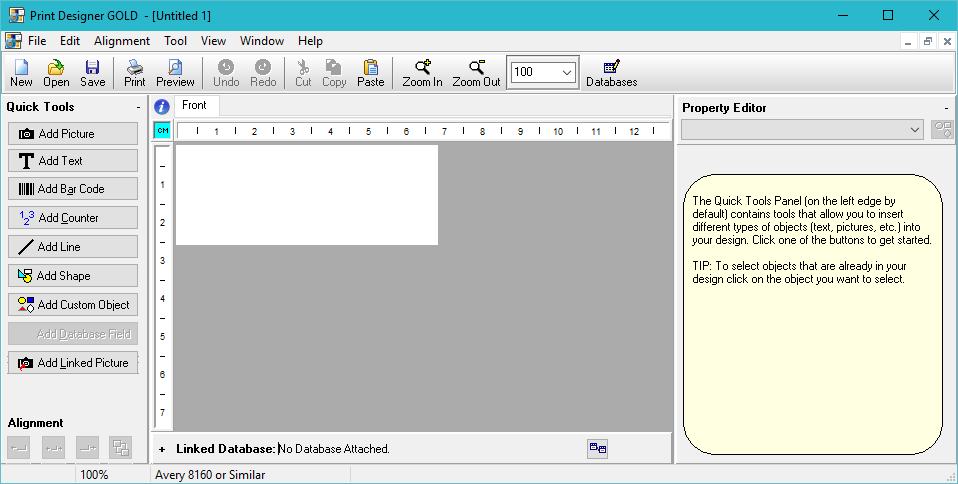
Now the program will create a blank address label, ready for editing. To link a database either select Edit->Database->Linked Database on the menu or click the Change Linked Database button at the top of the Database Panel.
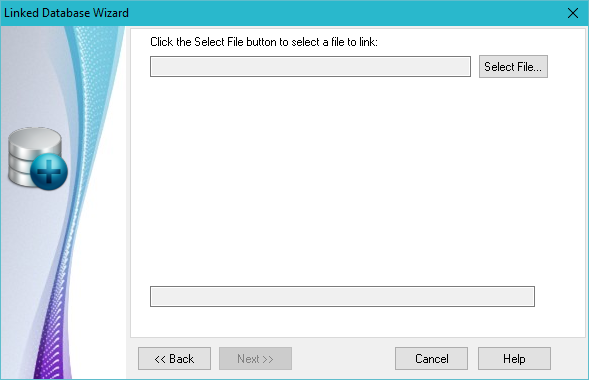
The Linked Database Wizard is started where you will see a list of supported database you can link your label to. Click Next to select your database file.
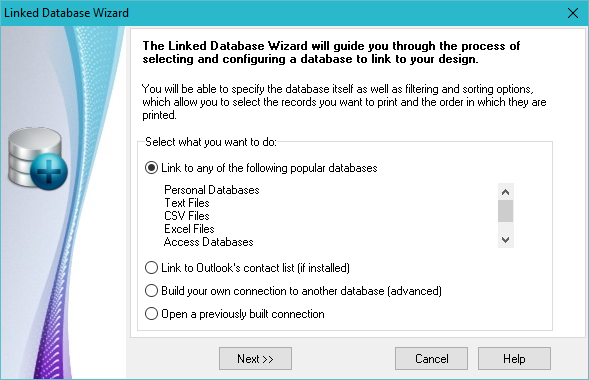
If the file selection dialog box does not appear automatically click the Select File button to open it. If no database is currently linked the dialog will appear automatically.
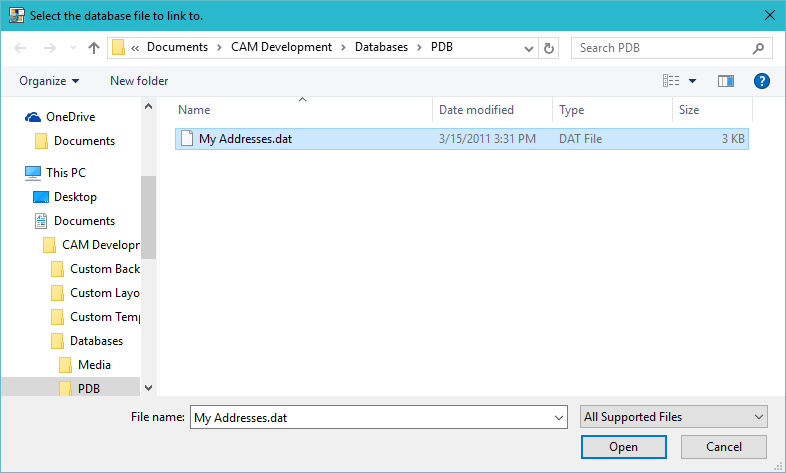
Next navigate to the database file you want to link then click Open. For this tutorial we are linking to the default Names and Addresses database, but you can select an XLS, XLSX, Access file or any other supported file just as easily.
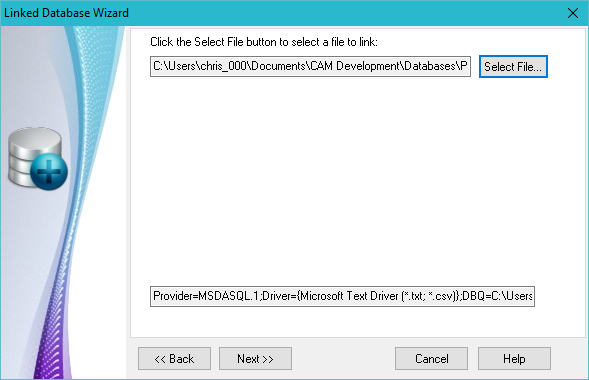
Once your file is selected your will be returned to the Design Wizard. You should now see the screen below, showing the connection to the database. Click Next to skip over the database filtering and sorting screens until you see the screen below. Filtering and sorting are covered in a separate tutorial.
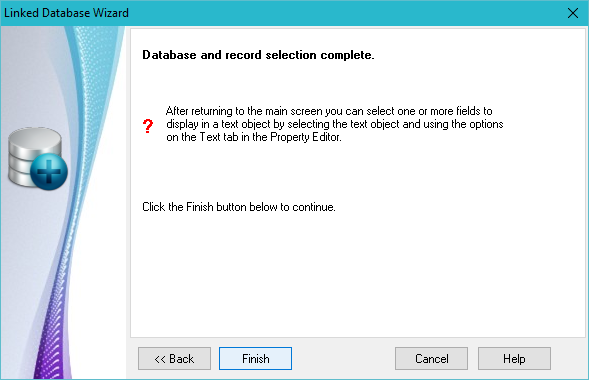
To complete the database linking click Finish.
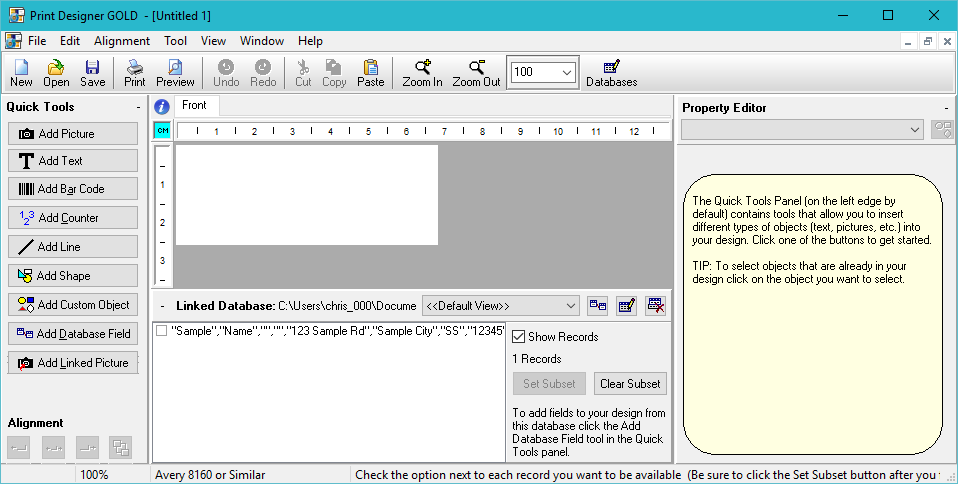
With the database linking complete you should be returned to the main editor screen where you will see the Database Panel expanded showing the records in your database. The example database only contains one record, but your database will likely show a lot more. Now it's time to add fields from the database so that they print on the label. Click the Add Database Field button on the Quick Tools panel and the Build Field Wizard will open.
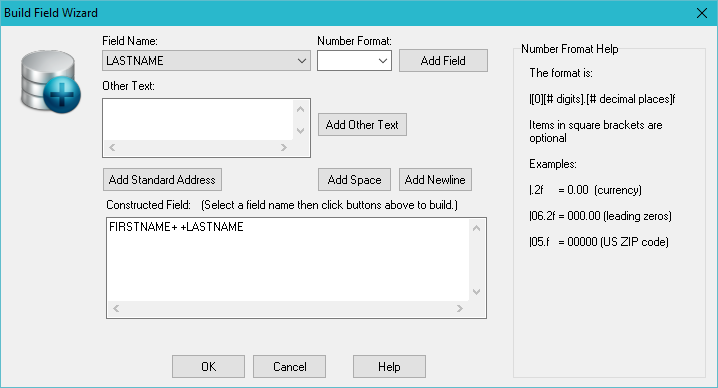
To add a field to the label select it from the drop down list and click the Add Field button as shown below. You can add fields, spaces and line breaks one by one by repeatedly selecting a field name and clicking the appropriate button. For simplicity we've added the First Name field, a space and the Last Name field below.
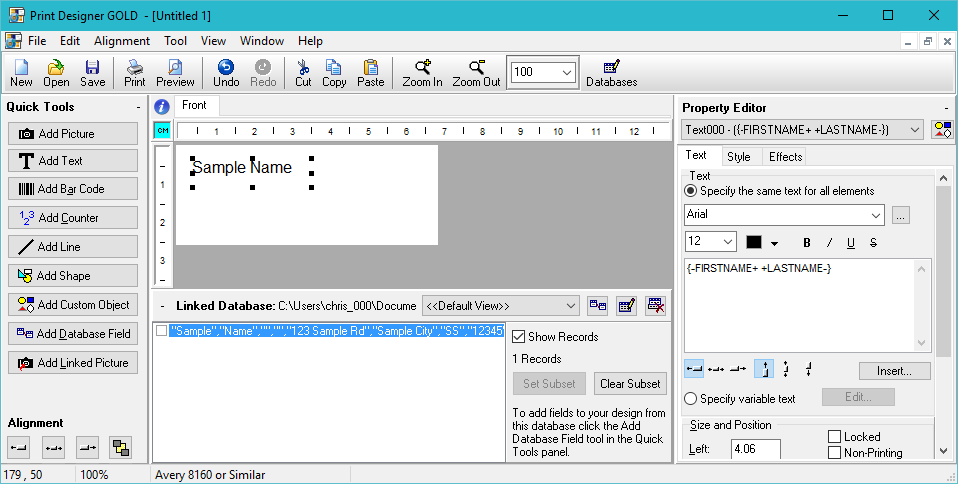
That's it! Your label is now linked to your database and the fields have been added. The FIRSTNAME and LASTNAME fields have been inserted into the label, displaying the first record from the database, as shown below.
You can now edit the design any way you want and print your label. When you print the first label will print the data from the first database record, the second label will print the second record and so on.
This tutorial covers only the most basic database functionality available in our software. There is much more you can do.