This tutorial explains one way to add multiple database fields to your design using a single text object. While the screen shots are made using our Print Designer GOLD software the same steps apply to our Label Designer Plus DELUXE product.
To get to the starting point of this tutorial create a new design or open an existing design that is already linked to a database, then open click Add Database Field in the Quick Tools panel.
The Build Field Wizard is opened and allows you to construct a text object containing multiple database fields, spaces, line breaks and other static text.
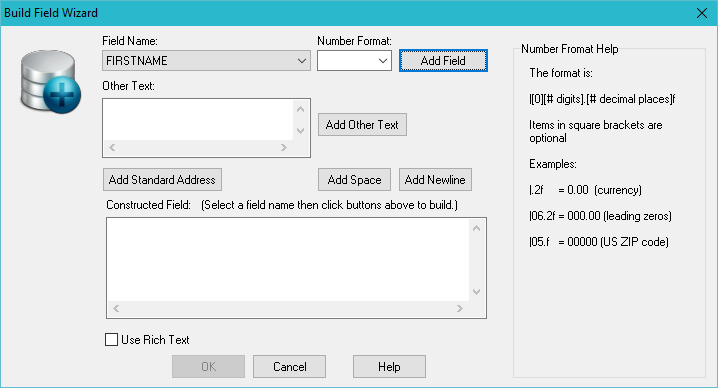
To add a field, select the field name from the list and click the Add Field button as shown below.
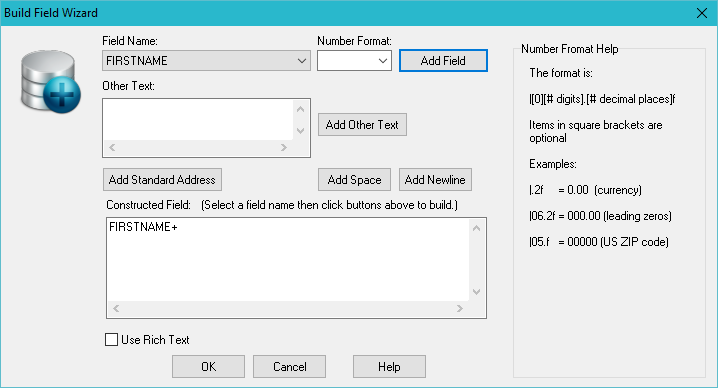
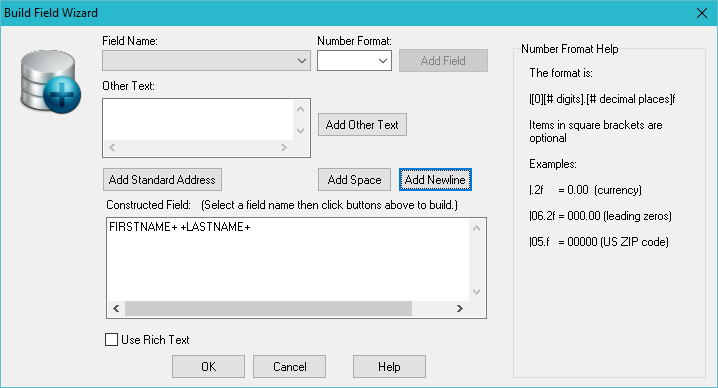
Repeat the previous step to insert each field, spaces and line breaks. On the screen below we've added two fields with a space between and a line break at the end. You can continue to add the remaining address fields in this example.
Now that the fields have been inserted, click OK to insert the text object containing your formatted fields into your design.

After click OK the compound field is inserted into your design. It should display data from the first record in your linked database.
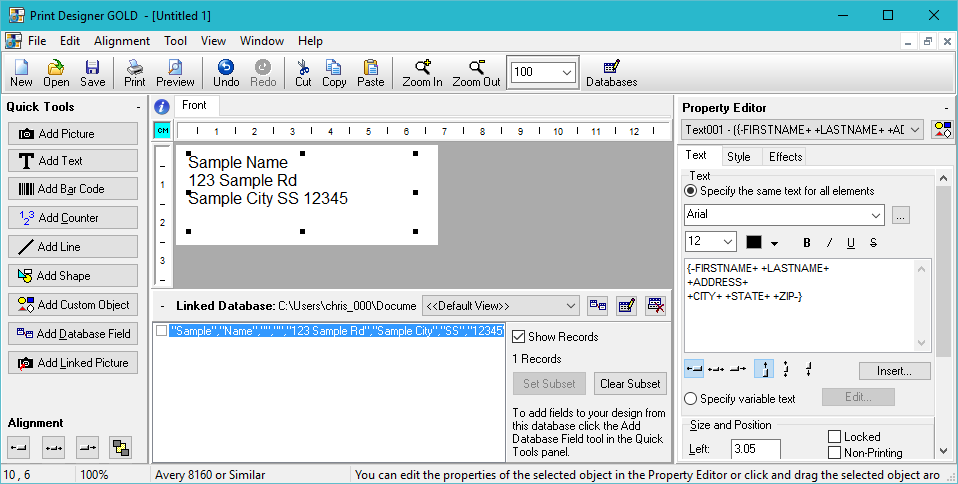
You can now edit the design any way you want and print your label. When you print, the first label will print the data from the first address, the second label will print the second address and so on.