This tutorial how you how easy and fast it is to create a new business card. While the screen shots are made using our Business Card Designer Plus program the same steps apply to our Print Designer GOLD software, which also allows you to create business cards as well as labels of all types.
To get to the starting point of this tutorial select File->New on the menu to start the Design Wizard. If you just started the software you can just click Next on the Startup Options screen displayed when the program starts.
The first step is to select the layout for your new business card. Select the layout you want to use then click Next.
For this example we are creating a standard wide style business card using standard 10-up business card paper stock (the first option below). There are other options available as well that are equally easy and fast to create (see below). The layout you select depends on the paper stock you are using and your personal preference.
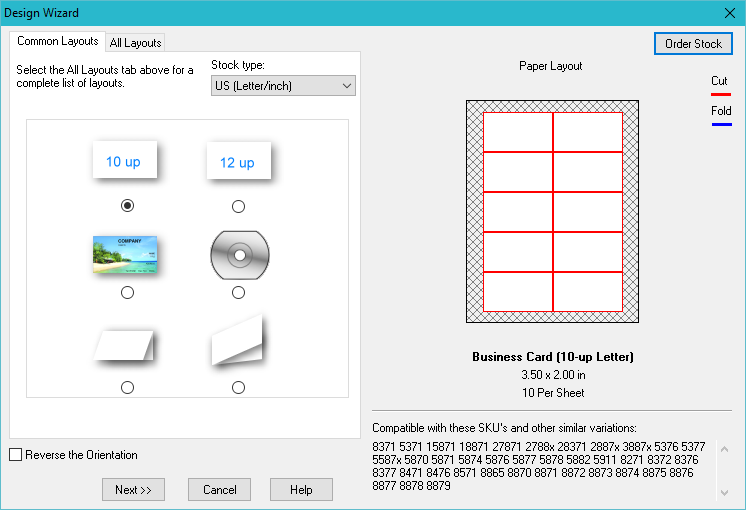
NOTES:
The 12-up layout allows you to print 12 cards on each sheet as long as your printer can print close enough to the edge of the paper. This is primarily used if you are printing on non-perforated paper and cutting the cards out yourself.
The Photo layout allows you to print business cards with a photo background that "bleeds" over the cut line to ensure that the entire background of the card is covered in case of slight alignment issues (no printer is perfect). There are several pre-perforated papers available that match this layout but it works equally well if you are printing on photo paper and cutting the cards out yourself.
The CD Business Card layout is for use with specially designed labels for cd size business cards.
The last two layouts are for Folded Business Cards. This is primarily used if you are printing on non-perforated paper and cutting and folding the cards yourself. There are some pre-perforated papers available for this purpose as well.
To create a tall style card instead of a wide style card for any selected layout check the Reverse the Orientation check box. Doing this allows you to design the business card in the tall orientation but changes the printout to landscape orientation so you can use the same paper stock to create a tall style card as you would use to create the standard wide style card.
Choose one of the many included templates then click Next.
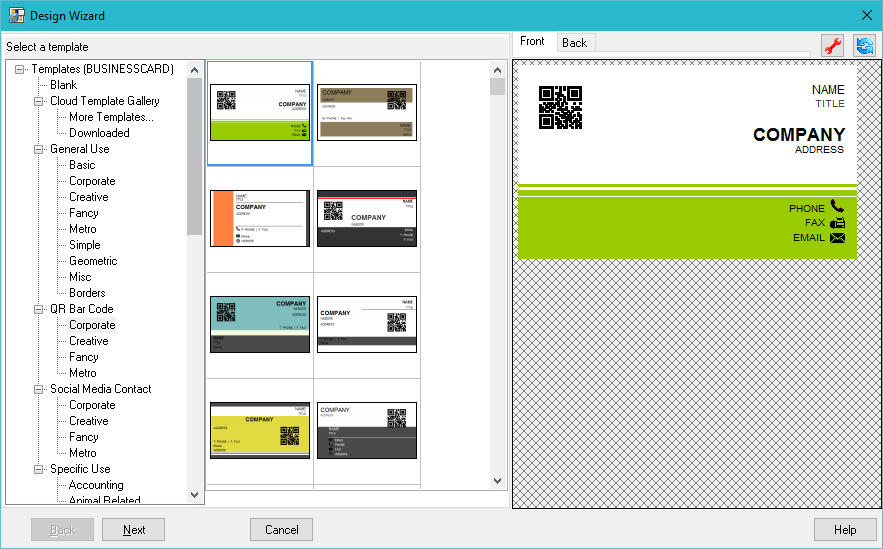
NOTE: There are many categories of templates to choose from, plus more templates are available (including templates specific to many business types) by clicking the More Templates... item under the Cloud Template Gallery category. You can scroll through the lists under Templates to see more. Choose the Blank item to create a blank business card you design yourself from scratch.
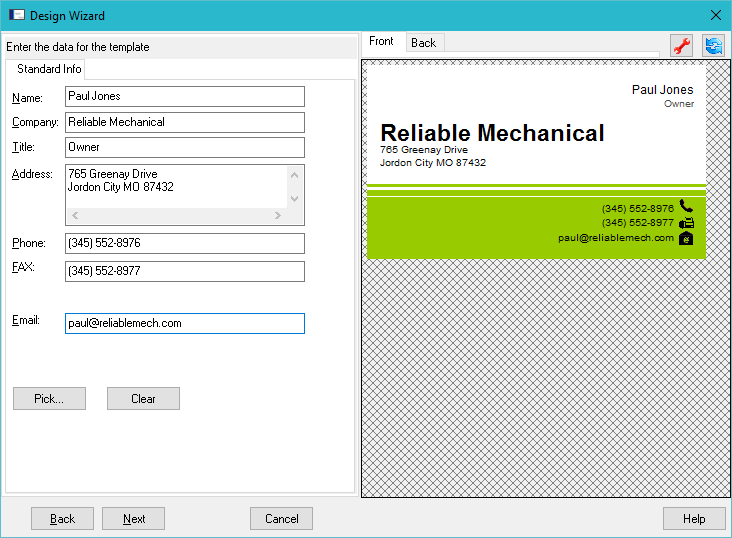
Enter your name and company information. This information will automatically be merged with the template as your business card is created. Finally, click Next until the Design Wizard is complete.
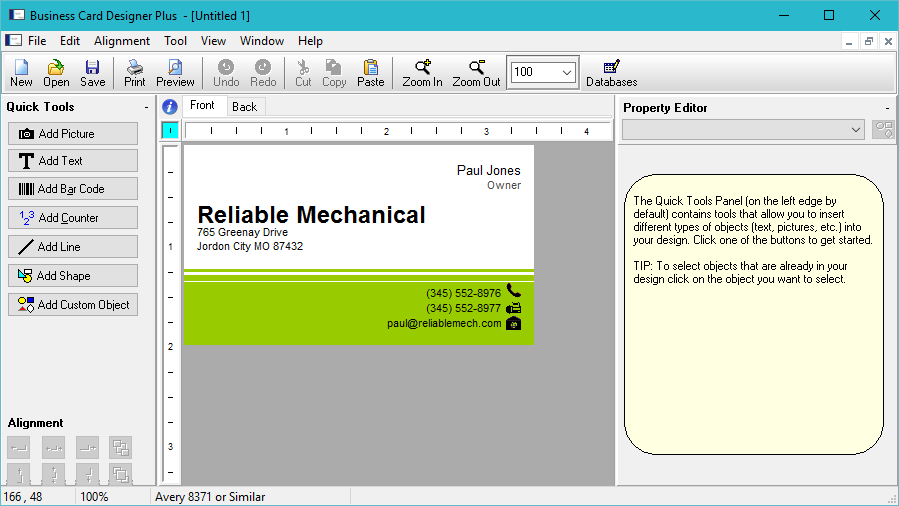
That's all there is to it! Your business card is now ready. You can print it by clicking the Print button, save it to a file using the Save button and customize it further using the various tools in the Quick Tool Panel.
This tutorial covers the steps required to create a new business card from a template, complete with your own personal information.
You can do a lot more now that the business card is created, including adding additional text, deleting unwanted text, adding pictures and shapes, changing colors, font, etc.